Creating an Exness account is a straightforward process, ensuring ease and convenience.
Introduction
Here's a step-by-step guide:
Step 1: Visit the Exness Homepage
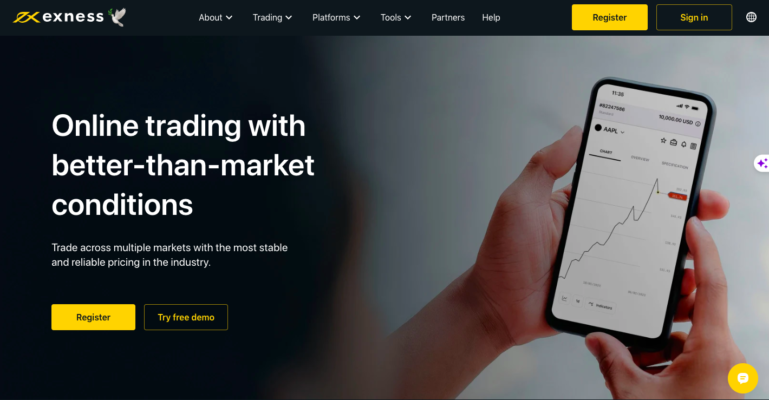
Begin by accessing the Exness website through this link: Exness Homepage.
Once on the homepage, click on the “Sign up for Exness” option, located at the top right corner of the website. This initiates the process of opening an Exness Demo account.
Step 2: Fill in Registration Information
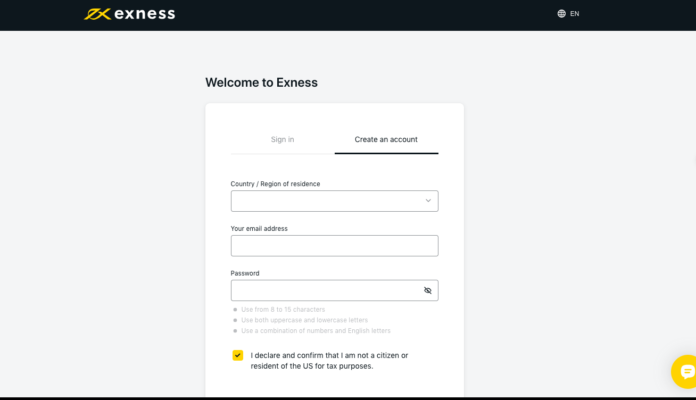
After selecting the registration section, you'll be prompted to provide essential information, including your mobile phone number, and email address, and create a secure password for your account. Note that the password should consist of at least 8 characters, including both numbers and letters. Once completed, click “Continue” to proceed.
The system will send an authentication code to both your email and phone. You'll need to enter this code to verify your information.
Step 3: Confirm Identity
This step is crucial for both immediate and future account access. You'll need to enter your full name and date of birth, precisely as they appear on your identification card (ID card or passport). Carefully review the contract terms and select “Agree” to continue.
Step 4: Security Settings
To enhance the security of your account, you can choose between email or phone number verification and set a secret word. Click “Next” to proceed.
Additional Information:
- Nationality is set to Vietnamese by default.
- Choose your current country of residence.
- Select your postal code and current location.
Confirm the entered information and move forward.
Instructions for Verifying the Exness Account

Account verification includes confirming your identity and address. After registering, you'll see the verification requirements on your screen. Follow these steps:
- Click to verify your ID card, citizen identification card, or passport. Update images of the documents you provided during registration and verify if the information matches.
- For document verification, select the criteria: Easy to read, colorful, clear edges, and all necessary information visible. Click “Submit” to proceed.
- To verify your address, repeat the same steps as above, providing documents accepted by the Exness system, such as driver's licenses and utility bills that match the information you provided during account registration.
By following these simple steps, you can successfully open an Exness Demo account.
Instructions for Setting up Exness Account Security

Account security is paramount for safe transactions. After creating an Exness account, set up two-step verification to enhance security and prevent information theft or account hacking. Follow these steps:
Step 1:
- Go to your personal area.
- Select “Settings.”
- Choose “Privacy Settings.”
- Select “Change.”
- Opt for Google Authenticator and re-verify with email or phone number.
Step 2:
- For phone number or email verification, you'll have these options from the start. To set up Google Authenticator:
- Download the Google Authenticator app on your mobile device.
- Scan the QR code or manually enter the security key, including the account name and key provided by the system.
- Retrieve the 6-digit code for user login.
Conclusion
Exness offers three distinct account types: Standard, Pro, and Raw Spread, each with its own set of advantages, including varying leverage, spreads, and dedicated customer support. The Standard account requires a minimum deposit of $1, while the Pro and Raw Spread accounts necessitate minimum deposits of $200 and $500, respectively. Join Exness now:
Join Exness Telegram Community for new information: https://t.me/exnessvnpartners